Mary Berry’s Carrot, Walnut & Mascarpone Cake

As far as I’m concerned, any cake recipe that ends with “& Mascarpone” means you are on to a definite winner! This recipe has been tempting me for a while. Mary Berry sure knows a thing or two about cakes!

The process is so simple that it doesn’t warrant any photographic assistance: measure out all the ingredients and then mix them up together, before pouring the mixture into a greased and lined 20cm (deep) cake tin and popping in a preheated oven at 170 degrees C for 50-60 minutes. Simple!

Once baked (the cake should be well risen, golden and shrinking away from the sides of the tin and a fine skewer through the centre should come out completely clean) leave to cool for a few minutes in the tin before carefully removing and setting it out to completely cool on a wire rack.

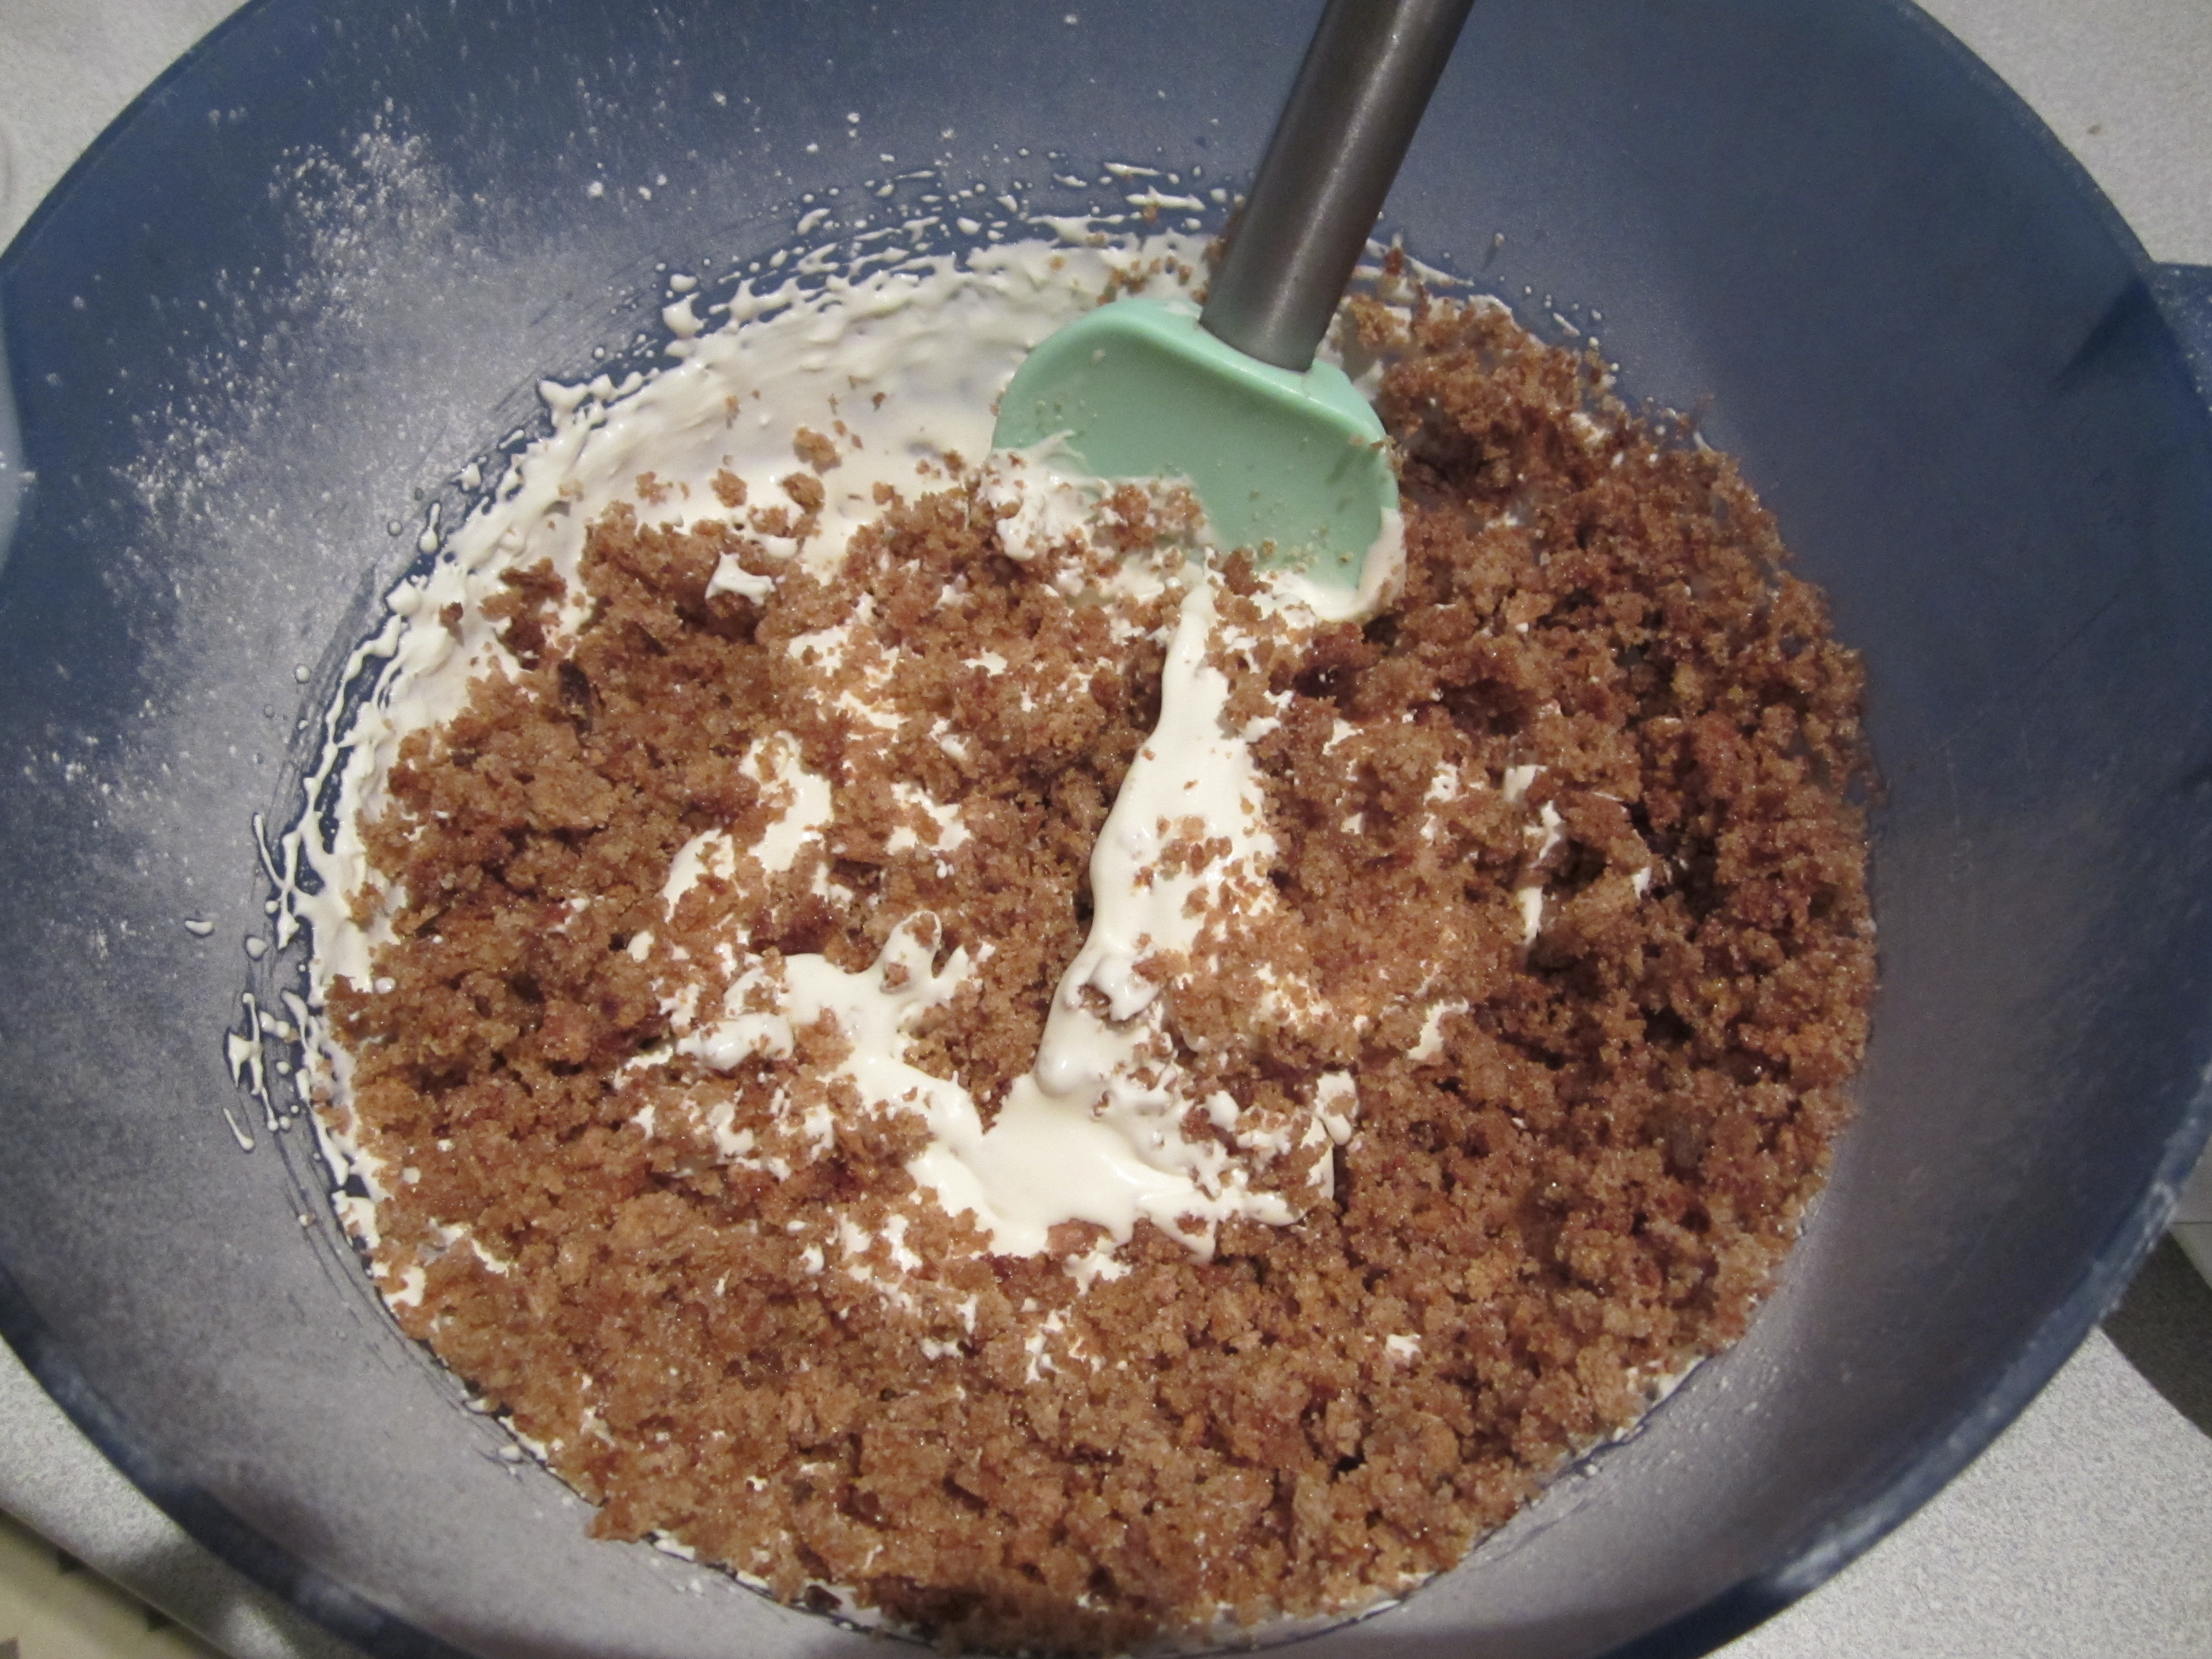
The icing again requires a bit of arm muscle action in mixing, before generously slathering atop a beautifully risen and completely cooled cake! Store the cake in a fridge.

Ingredients:

For the cake:

  • 225g (8oz) self-raising flour
  • 2 level teaspoons of baking powder
  • 150g (5oz) light muscovado sugar
  • 50g (2oz) walnut pieces, chopped
  • 100g (4oz) carrots, coarsely grated
  • 2 ripe bananas, mashed
  • 2 large eggs
  • 150ml (¼ pint) sunflower oil

For the icing:

  • 250g (9oz) mascarpone cheese
  • 2–3 teaspoons vanilla extract
  • 2 tablespoons icing sugar, sifted
  • about 25g (1oz) walnut pieces, chopped

I’ve made this cake for my sister’s Maternity Leave Tea Party celebration tomorrow! Can’t wait to see how it has turned out! Birthday cake

9th February 2013 UPDATE: The cake was a real success – deliciously moist and full of flavour. It started the afternoon looking something like this…

IMG_1323Shortly after the guests arrived it looked something like this…

IMG_1337

And there is very little left to show for it! I definitely recommend this recipe for carrot cake lovers – the mascarpone icing is divine!

Peanut Butter & Chocolate Chip Muffins of Wonder

IMG_1289If you share my PB appreciation even slightly, you should already be planning to make these bad boys! My sister tweeted me the link from http://www.howsweeteats.com (a phenomenal American baking blogger who is both ingenious and hilarious in equal parts) earlier this week for two reasons:

1) a key ingredient is PB and we share a genetically determined love of all PB baked treats, and

2) it used wholemeal flour.

This made it impossible for me not to try! I’m always looking for ways to incorporate less refined/wholefood ingredients into recipes without scrimping on the taste. This recipe is just the ticket for anyone who, like me, has a bag of unused wholemeal flour sitting in their cupboard biding its time. (My last endeavour into baking cakes with wholemeal flour didn’t exactly have people racing back for seconds….)

The recipe has its measurements in cups, so I’ll do the hard work for you and give you approximate equivalent measures!

If you don’t have a set of measuring cups at home handy, this can be a great investment especially when trawling through American baking blogs for inspiration! (Otherwise, here’s a great link should you need to work out conversions: http://cafefernando.com/conversion-tables/)

This recipe should produce between 12 and 15 deliciously dense, PB and chocolatey muffins to share!

Ingredients:

  • 300g (2 cups) wholemeal plain flour
  • 1/2 teaspoon bicarbonate of soda 1/2 teaspoon baking powder
  • 1/4 teaspoon salt
  • 1 large egg
  • 120g (1/2 cup) plain Greek yoghurt
  • 70g (1/3 cup) loosely packed brown sugar
  • 115g (1/2 cup) unsalted butter, melted and cooled
  • 115g (1/2 cup) peanut butter, melted and cooled
  • 165g (2/3 cup) milk
  • 150g chocolate chips

Method:

1. Preheat the oven to 180 degrees. Place muffin liners in a tin and set aside. Over a low heat, in separate pans melt the butter and peanut butter slowly and set aside to cool.

2. In a small bowl, whisk together flour, baking soda, powder and salt.

IMG_1264

3. In a large bowl, whisk together the egg, yoghurt and sugar until smooth. Add in the melted and cooled butter and peanut butter slowly, whisking constantly until creamy.

IMG_1267IMG_1268

4. Once combined well, whisk in milk. Add the dry ingredients and chocolate chips, mixing until just combined with a large spoon. Do not overmix!

IMG_1273

5. Using an ice cream scoop or large spoon, fill the muffin liners to at least 3/4 of the way full.

IMG_1275IMG_1276

6. Bake for 15-18 minutes, just until the tops are set and slightly golden. Remove and let cool, then serve!

IMG_1283IMG_12867. Sprinkle with a little icing sugar to complete the beauty!

Brown Bread Ice Cream – Who’d Have Thought It Would Taste So Good?

Following a recent spell of snow-induced, non-stop viewing of The Food Network (which coincided with a substantial loss of brain cells…), a discussion around making Ice Cream came up. The topic of Brown Bread Ice Cream ensued – I had never even heard of this as an Ice Cream flavour before let alone tried it, but a speedy Google later and I was presented with website after website of recipes for it!

Rach’s recent endeavour into Ice Cream making, added to my curiosity, was enough inspiration for me to do a bit more research and have a go at making it myself!

IMG_1258There are lots of different recipes available for Brown Bread Ice Cream, but the method seems pretty unanimous, albeit with some variation of ingredients. Some recipes suggest the use of half a tablespoon of alcohol (rum or whiskey) to be mixed with the egg yolks before folding into the egg whites, but as I’m not really a hardened drinker, neither of these were available to me so I went without. Similarly, some recipes also suggest the use of soft dark brown sugar, but I only had soft light brown sugar (and it still tastes glorious!) The caramelised breadcrumbs give it an almost nutty flavour. It really is delicious! This recipe uses uncooked eggs so it isn’t advisable for pregnant women to enjoy (apologies to my big sister for this!)

The following recipe makes enough to fill a 1L freezable tub.

Ingredients:

  • 85g brown breadcrumbs (approximately 2 slices of medium sliced bread)
  • 85g soft light brown sugar
  • 2 large eggs, separated
  • 300ml double cream
  • 85g sifted icing sugar

Method:

1. Use a food processor to blitz the bread into fine breadcrumbs. Mix these with the brown sugar and pour onto a lined baking tray. Pop this under a moderate grill for 8 – 10 minutes. Keep a close eye on it and stir frequently. You want the breadcrumbs and sugar to caramelise, not burn. Leave to cool and then fork through to break it up.

IMG_12242. Whisk the egg whites until just becoming stiff. Then fold in the yolks carefully.

IMG_1229

3. Whisk the cream and icing sugar together in another bowl until the consistency of a thin custard.

IMG_1238

4. Then fold this into your egg mixture along with the breadcrumbs.

IMG_1240IMG_1243

5. Pour the combined mixture into a shallow freezer container and freeze for a minimum of 4 hours. I found a recycled Ice Cream container (1L) worked perfectly!

IMG_1245

IMG_1252

6. Lastly, enjoy! 🙂

IMG_1258

Arguably the World’s Best Carrot & Coconut Cake…

A few good things happened this past Sunday. The snow drove me to finally sort my bedroom into order; it seems two days of snow is enough of a novelty for everyone! A quick trip to the gym to meet my sister for Pilates also occurred. On departing the gym, she gave me a chunk of a cake that she had made over the weekend for me to try. I happily made my way home, tucked into some dinner and then indulged in a slice of cake. The taste sensation caused an immediate text message to be sent to my aforementioned sister that went a little bit like this….: “I NEED the recipe for this cake. This icing is UNREAL!”

One email later and I was ready to get baking! The inclusion of (my beloved) coconut oil only excited me more!

IMG_1220

Credit to the blogger whose creation it is based on (Poires au Chocolat), but The Cake Hunter has taken this to a whole, new, coconutty level of wonder! I have amended it only slightly from my sister’s reflections of her own delicious version.

Ingredients

For the cake:

  • 2 eggs
  • 170g plain flour
  • 1 and 1/2 teaspoon baking powder
  • 1 large carrot, grated
  • 1 teaspoon ground nutmeg
  • 2 teaspoons ground cinnamon
  • 1/8 teaspoon sea salt
  • 100g coconut oil, solid
  • 170g light brown sugar
  • 50g walnut pieces
  • 30g desiccated coconut

For the icing:

  • 100g coconut oil
  • 200g icing sugar
  • 1 tablespoon water
  • Desiccated coconut, to decorate

Method

  1. For the cake, preheat the oven to 180 C/350 F. Grease and line a 900g loaf tin and set aside. In a clean, dry bowl, separate the eggs, putting the egg whites into the clean bowl (to be whipped later) and the yolks into a cup.
  2. Beat the coconut oil and brown sugar with a stand mixer (or handheld electric mixer) and beat on medium until pale and fluffy (I found using the solid coconut oil quite difficult, so think that softening it slightly before combining with the sugar would be helpful).
  3. Add the yolks one by one, beating well and scraping down in between each addition.
  4. Tip in the grated carrot, nutmeg, cinnamon, walnuts and dessicated coconut and fold together.                                                                  IMG_1192
  5. Whip your egg whites until they hold stiff peaks (don’t overdo it, it won’t be as firm as meringue).
  6. Sift the dry ingredients into a bowl and fold half into the carrot mix, carefully but thoroughly, scraping the sides and bottom. Add half of the whipped egg whites and fold them in, followed by the rest of the flour, then the rest of the egg whites. Carefully make sure it is evenly combined. Pour into the loaf tin and level out the top.

IMG_1197

7. Bake for about 40 minutes until a skewer comes out cleanly from the middle. Cool on a wire rack for 5 minutes then remove from the tin and leave to cool.

IMG_1198

8. To make the icing, melt the coconut oil down over a low heat, allow to cool for a while then add the icing sugar and mix. Add the water and mix again until smooth. Spread the icing over the top of the cake with a palette knife and sprinkle with desiccated coconut.

IMG_1218

The addition of some ground nutmeg and cinnamon really enhances the carrot flavour, which otherwise can be slightly overpowered by the coconut. This cake makes a perfect accompaniment to a good cup of tea. The use of coconut oil is both novel and brilliant – if you’ve not used it before, I highly recommend it as a staple ingredient in your cupboards. Its reported health benefits cannot be ignored either; win, win!

The Master Baker (Snow Edition) January 2013

Happy Monday morning baking friends! 🙂

It has been a very snowy weekend here in the south of the UK and after a well planned (but somewhat snow-sabotaged) surprise visit from Rachel I’m sharing our most recent baking-inspired creation…

Meet The Master Baker (Snow Edition)

Master Baker

This is the outcome of a full afternoon’s work with a little help from friends! Maybe we can develop this into a feature of chef-shaped creations? Get thinking!

Looking forward to sharing some new kitchen based/edible creations very soon.

Stay safe in the snow!

Easy Peasy Chocolate Torte

IMG_9472

Ingredients:

  • 300ml  dark rum
  • 200g caster sugar
  • 400g/14oz chocolate sponge/muffins
  • 375g/13oz dark chocolate
  • 200g/8oz sweetened chestnut purée
  • 560ml/20½fl oz double cream
  • 2 packets of white chocolate buttons
  • Berries of your choice

Method:

  1. Place the rum and caster sugar into a saucepan over a medium heat. Bring to a simmer, then cook until the sugar is melted. Stir well and allow the rum syrup to cool.                         1.
  2. Line a 25cm/10in round tart case, with greaseproof paper-it is important to cover the sides and the base.  IMG_9454
  3. Take a 2.5cm/1in thick slice of the chocolate cake (made or bought; I actually find that pre-made chocolate muffins work well as they are moist and make a better base). Process into crumbs, place it into the bottom of the tin, and press the crumbs so that they are firm, level and covering the base of the tin. Pour the rum syrup over the compressed crumbs and allow the syrup to soak in.                                           IMG_9455IMG_9460IMG_9463
  4. Melt the chocolate in a bowl over a saucepan of water and then leave to cool for a few minutes. Add the sweetened chestnut purée and whisk to combine.
  5. Pour the cream a little at a time into the chestnut and chocolate mixture and whisk to combine.                                            IMG_9464
  6. Pour the chocolate and cream mixture over the soaked base and smooth over. Transfer to the fridge to chill for at least two hours, preferably overnight.                                                        IMG_9465
  7. To serve, remove the torte from the tin (I used springform tins to make this a lot easier – peel the greaseproof paper off carefully, as the mousse of the torte may stick to it if you peel it too quickly).IMG_9466
  8. Decorate with chopped white chocolate buttons and serve with a side of fresh berries (as always, chocolate is well complemented by strawberries).IMG_9467 IMG_9468 IMG_9469IMG_9472